Now that we’ve established that flashlights and weapon-mounted lights serve a different purpose for the armed citizen than they do for law enforcement or the military, let’s look at a few tools of the trade.
Night sights are useful as they add more confirmation that yes, our sights are pointing where they should be pointing. Remember, if we have an incident with a bad guy, he or she needs to see us and confirm that we are his or her intended victim du jour (or in this case, du soir). Absolute total darkness prevents that from happening, so we will have some light with which to form a sight picture, and night sights make that sight picture even better.
Low Light Sight Pictures Made Easy
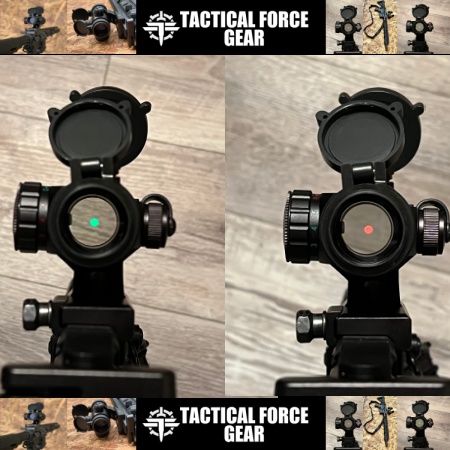
A red dot sight on your pistol gives you the exact same sight picture at night as it does in daylight. This is a tremendous advantage in low light, but there are a few caveats. The first is that some dots do not auto-adjust for changing lighting conditions, so that nice bright dot in the daytime can become an overwhelming blob of light at night which obscures your target. For dots that do adjust to the ambient light, there can be a big difference in light levels between where the shooter is and where target is, leading to a dot that has either too bright or not too dim for an optimum sight picture.
An increasingly overlooked tool for defensive pistols in low-light environments is the laser sight. The same laser that is hard to see in bright sunlight becomes a shining beacon of point-of-aim at night. Yes, they give away your position, but remember, the bad guy already knows where you are; that’s why he’s attacking you.
Avoid Unitaskers
I firmly believe that a weapon-mounted light (or WML) is an absolute “must have” for any firearm dedicated to home defense. However, I’m not convinced of their utility for concealed carry. To borrow from TV chef Alton Brown, a WML is a unitasker: It does one thing (shine a light in the same direction as your muzzle) and one thing only. On a long gun, where both hands are needed to operate your firearm, they are an absolute essential tool. For use at night when the armed citizen is out and about, their utility drops off sharply.
A handheld flashlight, on the other hand, can substitute as a WML when used with your defensive pistol. They are also useful for searching about, as the beam they send out is disconnected from the muzzle. A flashlight can also serve as a task light, something not possible with a weapon-mounted light.
Good tactical flashlights have some common features, such as a tail cap switch and a rugged housing to withstand abuse. The power of a tactical flashlight varies greatly, but 300 lumens is considered a floor for effectiveness. Adjustable light levels are nice as well, but the most-important features of a tactical flashlight is similar to the most-important features of a defensive pistol: It should be small enough that you can carry it every day, and it should be carried so you can deploy it at a moment’s notice.
Using A Flashlight For Defense
There are a number of different techniques for using a flashlight with a defensive pistol. The four most-common are the FBI technique, the head or temple index, the Harries technique and the syringe technique. We’ve covered these methods in the past, but that article, like many others, tends to talk in terms of using each technique in pursuit of a unknown suspect or when moving through a darkened structure. Instead, let’s examine the utility of each of these methods in the context of an armed citizen responding to an immediate threat of lethal force.
The FBI technique extends the flashlight away from the body, which reduces the amount of information the bad guy gets about our true location. It’s also a very natural way to hold the light while you’re trying to figure out if the person you’re talking with is a threat or not.
The head or neck index is also very natural to use and like the FBI technique, also works well as you’re interrogating a potential threat. It’s very intuitive, as it keeps the flashlight pointed in the same direction as your eyes, and it also lights up your iron sights if you need to shoot. However, that bright light is right next to your noggin when using this technique, making it a handy aiming point for incoming fire.
The Harries and syringe techniques must be used in conjunction with a pistol. This works great if you know for certain that lethal force is headed your way, but in most localities, drawing a pistol without the imminent threat of lethal force is an expensive way to learn everything about the American legal system from the inside. Avoid it at all costs.
Other Considerations
A few words about other things to keep in mind when using a tactical flashlight. A light broadcasts our position when it’s turned on, so we want to be efficient with the information we are sending out to others. If you have to move in a low light environment, use your flashlight to light up the way you want to go, then turn off the light and move there. Repeat as needed. Things can get really awkward if your pistol runs empty when holding a flashlight. The best course of action is to extinguish your light, move to cover and reload there. If no cover is available, you can turn off your light and stash in your armpit, between your legs or even in your teeth, complete your reload and then get back in the action.
Drill, Baby, Drill
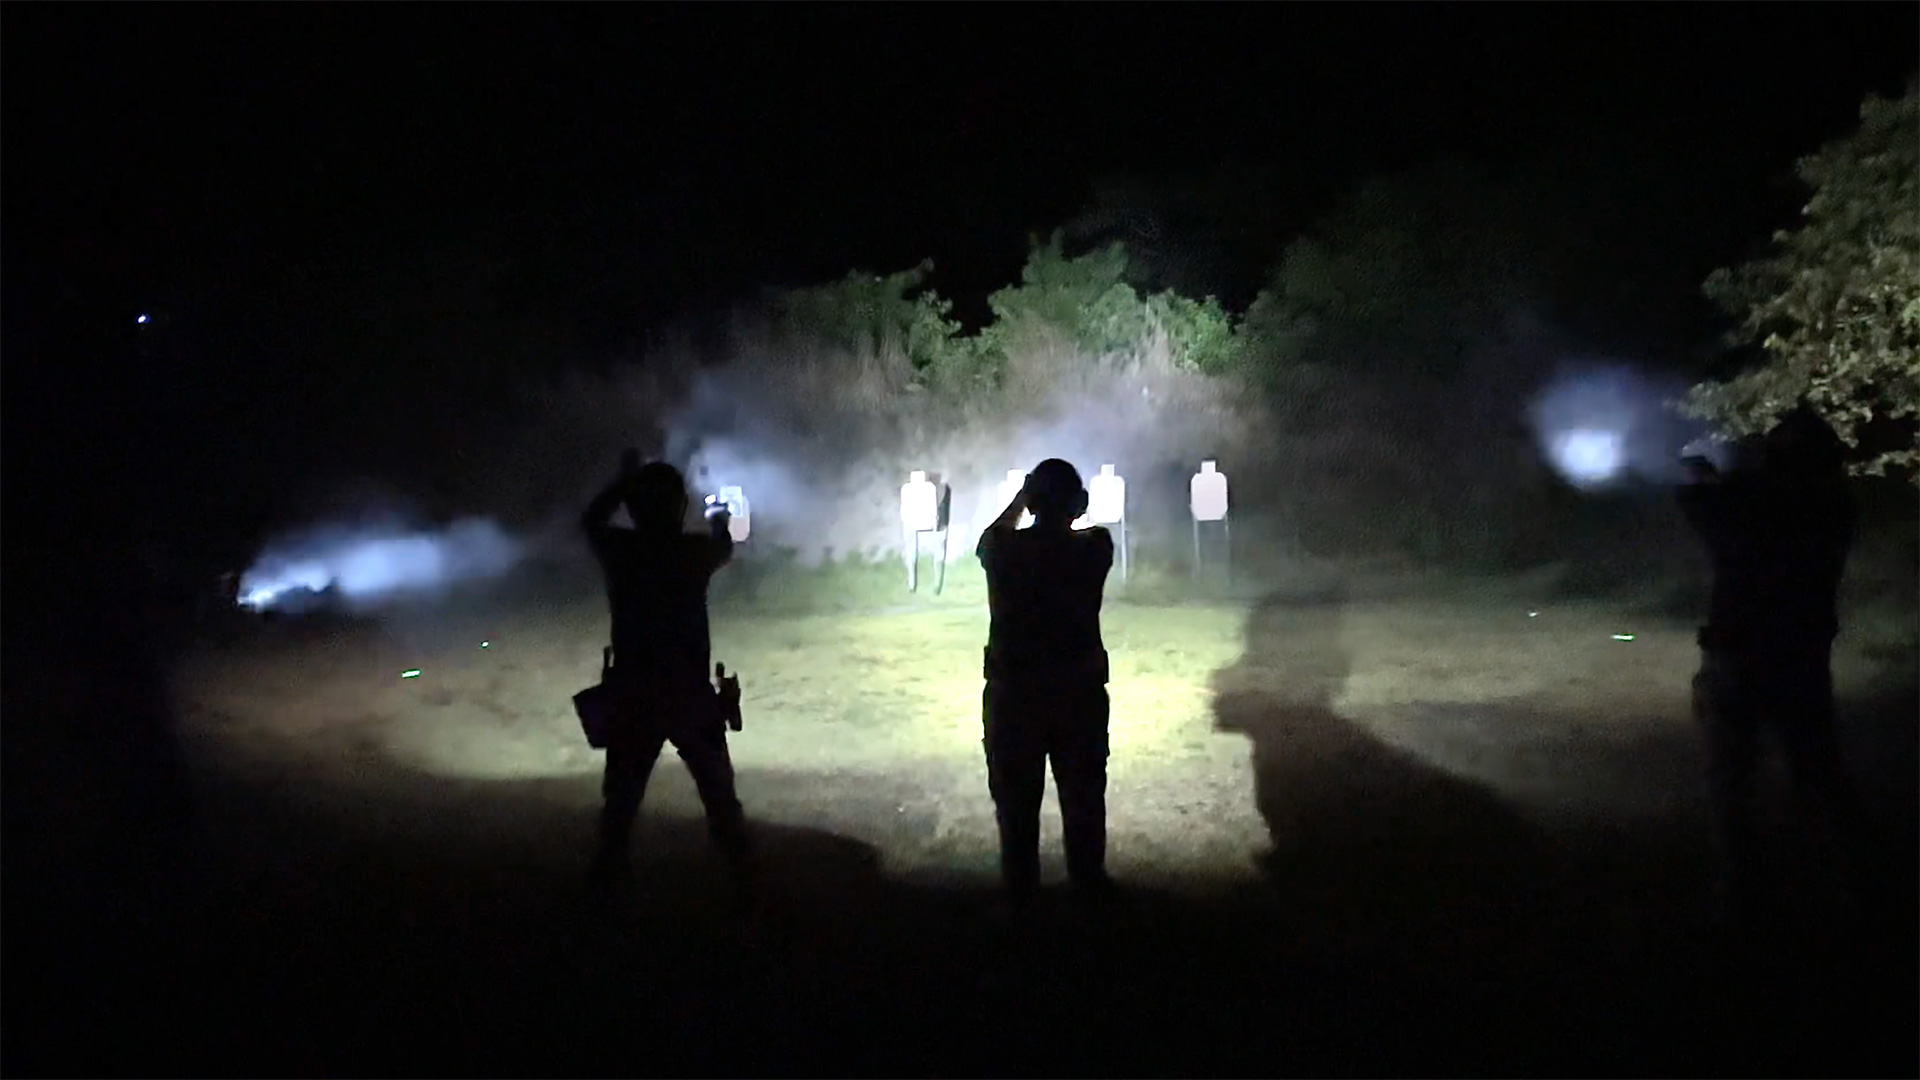
I am a big fan of using standardized drills to boost my student’s confidence and provide them with a measure of their progress, and the Department of Energy (DOE) has a short but challenging test for the people who protect our nuclear energy installations. The test can be performed at just about any shooting range, doesn’t include any movement or advanced techniques and is within reach of an above-average shooter of around IDPA Marksman skill level or above. I use a DOE-permitted target for this test, a standard USPSA target, but other targets can be used as well. hits in the A zone score 5 points, hits in the C zone are 4 points, and hits in the D zone score 3 points. The course of fire for the test is as follows:
DOE Protective Forces Handgun Only Reduced Lighting Qualification
24 Total Rounds
 Stage I
Lighting: Dim light
Yard line: 7
Position: Standing
Rounds: 12
Targets: 1
Load with: 6 rounds
Strings: 5
Procedure:
String 1: Draw, fire 2 rounds within 5 seconds, and assume a low-ready position.
String 2: From the low-ready position, fire 2 rounds within 3 seconds.
String 3: Draw and fire 2 rounds. Reload and fire 2 more rounds. Time limit is 10 seconds
String 4: Same as Stage I, String 1.
String 5: Same as Stage I, String 2.
Stage II
Lighting: Dark light (Flashlight required)
Yard line: 7
Rounds: 6 Targets: 1
Load with 6 rounds
Strings: 3
Position: Standing
Procedure:
String 1: From the low-ready position with handgun and flashlight, fire 2 rounds within 4 seconds.
String 2: Same as Stage II, String 1.
String 3: Same as Stage II, String 1.
Stage III
Lighting: Dark (Flashlight required)
Yard line: 15
Rounds: 6
Targets: 1
Load with: 6 rounds
Strings: 3
Position: Standing
Procedure:
String 1: From the low-ready position with handgun and flashlight, fire 2 rounds within 5 seconds.
String 2: Same as Stage III, String 1
String 3: Same as Stage III, String 1
Points Needed to Qualify: 84 Points out of a possible 120
One final point: Nobody freaks out if you have a flashlight on you. They can be carried into places where other gear is not permitted, and they are essential for navigating the hours of darkness. This makes them a “must have” for your everyday carry gear, and therefore should be carried so you can get to them as fast as you can access your defensive pistol
Read the full article here



Leave a Reply