In my previous article, I discussed two fundamental skills. First, the ability to consistently draw and hit an 8-inch circle at 7 yards in under 2 seconds. Second, consistently scoring multiple hits on an 8-inch circle at 7 yards with no more than .5 second between shots. For the armed citizen who carries in public, these are the two most fundamental starting points to building competence. Once you’ve achieved those benchmarks, the question becomes, “Where do we go from there?”
I recommend next tackling the “5×5 Drill.”
The 5×5 Drill
Firearms trainer and author Gila Hayes originally developed the 5×5 Drill as a simple yet effective means to assess the fundamentals of one’s shooting skill. The original drill is shot as follows:
-
5-inch circular target
-
5 yards
-
5 shots (beginning from the low-ready position)
-
5 second par time (All shots must be fired less than five seconds after the initial beep of the shot timer.)
A typical 5×5 drill target
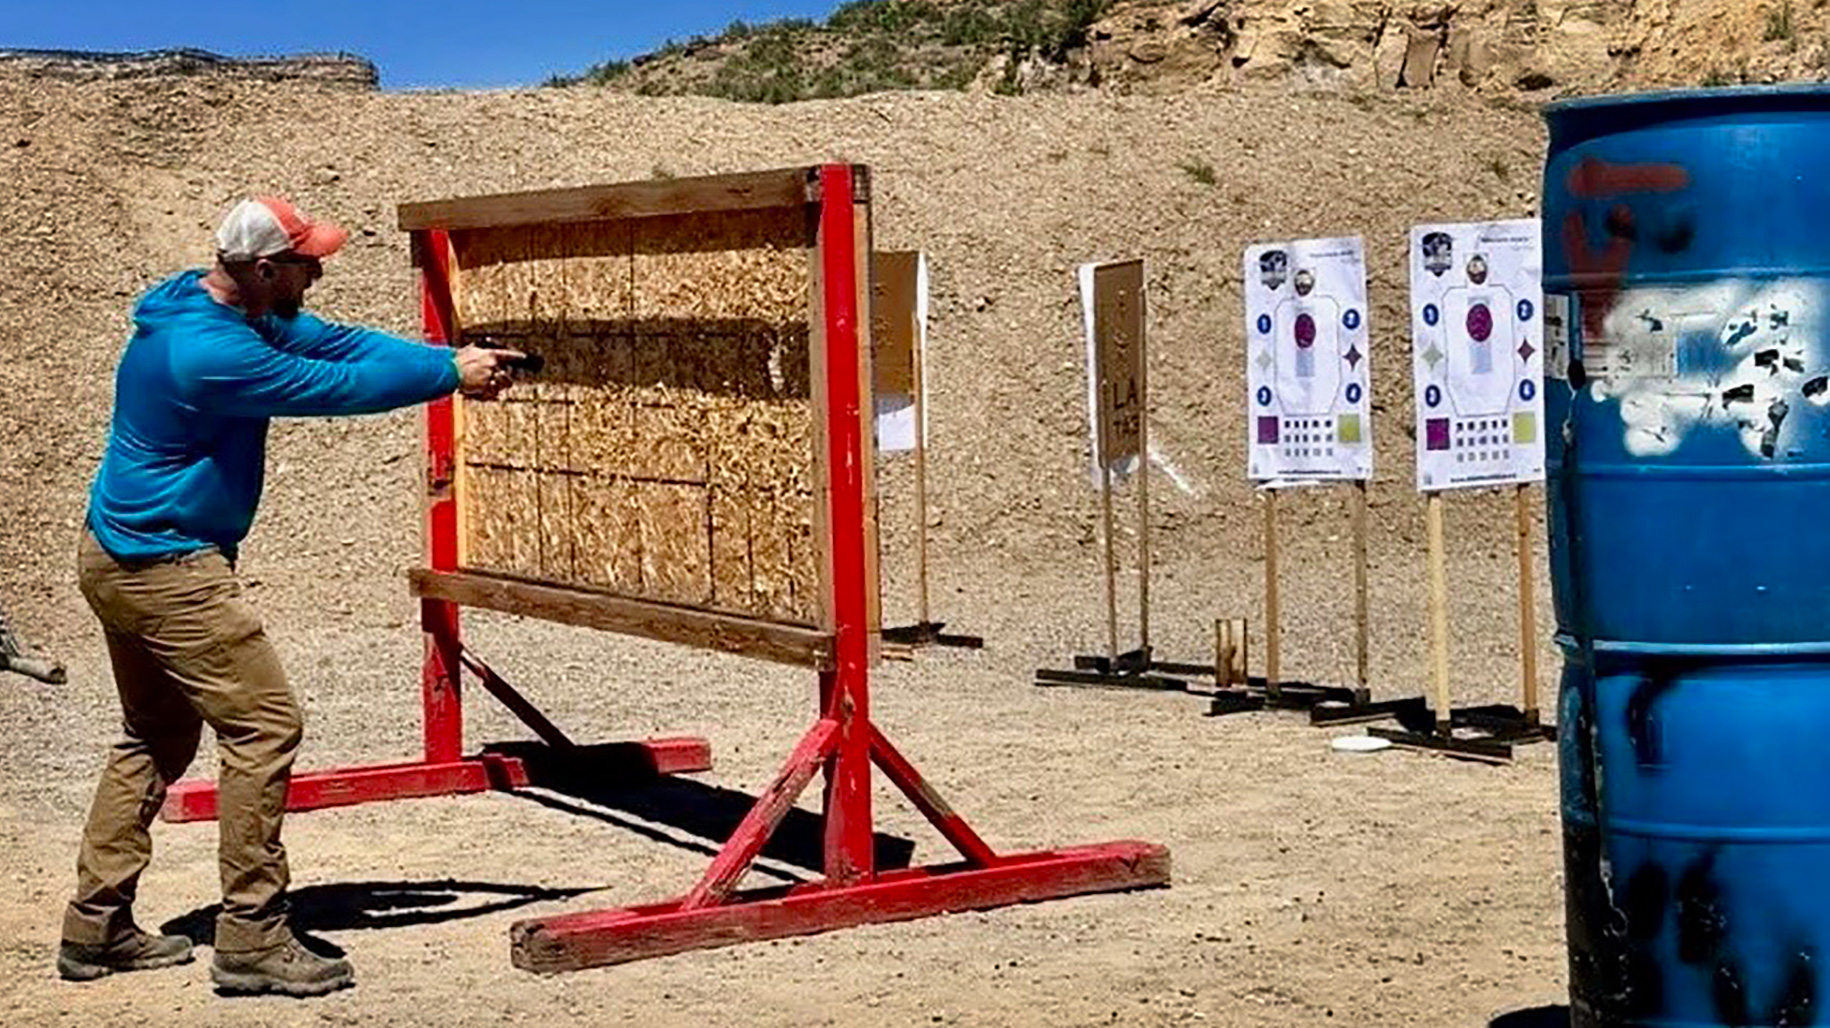
So a shooter places a 5-inch circle target at five yards, and sets the shot timer par time for five seconds. Beginning with the gun in both hands at the low-ready position, at the beep of the timer the shooter then raises the gun and fires five shots as quickly as possible at the 5-inch circle. The goal is to score five hits within the circle in less than five seconds. Any hits outside the 5-inch circle, or going over the five-second par time means we have more work to do to successfully complete this drill. It sounds simple, and to some it may even sound easy. To shoot the drill successfully on a consistent basis is harder than it sounds, and if you do find it easy, it can be scaled in difficulty as we’ll discuss below.
Regarding the target itself, multiple formats of printable 5×5 Drill targets exist that you can obtain online and print off at home. Worst case, you can use the black portion/9-ring of the NRA B-8 target, which measures 5.54 inches and gets you close enough to benefit in practice [editor’s note: Only count rounds entirely in the black to compensate for the slightly larger circle]. For another low-cost option, some shooters use CDs or DVDs and trace them with a permanent marker and photocopying them to produce multiple templates. I typically use the printable formats available online, but whatever method you choose, this 5-inch target is one of the easiest targets to produce or obtain.
Why This Drill?
Why do I suggest the 5×5 Drill once you’ve got a quick draw-to-first-hit and quality split times? Fundamentally, this drill forces you to work on and reveals your current skill level on the most fundamental elements of defensive pistol shooting: grip, sight acquisition, trigger control and recoil management. The drill requires us to shoot rapidly and accurately at a small target, but has standards that are achievable for able-bodied shooters with dedicated practice. The drill is simple to set up, simple to execute, doesn’t require large amounts of ammunition, and provides a great deal of feedback to the journeyman shooter about their strengths and weaknesses.
At the beep, we have to drive the gun to the target and acquire an adequate initial sight picture before pressing the trigger. For follow-up shots, we learn about our sight management, grip and trigger control. If you under-confirm our sights or hammer the trigger with an inadequate grip as you shoot, it may result in a miss. Conversely, we are on the clock and if we over-confirm our sights and pass up a good enough sight-picture looking for the perfect sight-picture, we may fail to meet the five-second-par time.
There’s another significant benefit to the 5×5 Drill. In its most basic form, it is a drill that you can perform at many public ranges. Anyone who trains seriously for self-defense at public ranges has likely been thwarted by range rules designed for the lowest common denominator-type customers, such as “No drawing from the holster,” and “No rapid fire.” Many ranges define “rapid fire” as more than one round per second.
When shooting the basic drill as describe above one can begin from the low-ready position (no drawing), and it is possible to pass the drill in less than five seconds without violating a range’s “one-second rule.” Presuming you get your first shot off from the ready before the one-second mark, you’ll successfully complete the drill shooting one-second split times. While that might still be limiting, it’s nice to know you can at least pass this drill until you can get to a range where you can do more advanced versions or push he pace a bit.
Scaling Up: The 5x5x5 Drill
Once you get to a point where you can consistently shoot the 5×5 Drill successfully, you’re just getting started. There are a couple ways to progress with this drill to increase your competence. The first is to turn it into a 5x5x5 Drill: Shoot it five times in a row, for a total of 25 rounds. Success is shooting the drill five consecutive times with each run being under the five-second-par time and no misses. Claude Werner first proposed this modification to prove consistency and rule out a lucky run. It’s possible to successfully complete this drill once through sheer luck, but the ability to do it five times consecutively indicates it is no fluke and suggests a baseline level of true skill we’re more likely to be able to count on under stress.
5×5 Drill From the Holster
Once you’ve arrived at a point where you can consistently shoot the 5×5 Drill under the par time and with no misses, I recommend modifying the drill by beginning with your gun in the holster. This adds a considerable degree of difficulty compared to beginning from the ready, but better reflects how a defensive gun use is likely to play out in the real world. Before we can use our gun we have to access it, and practicing accessing it under time pressure (and therefore a bit of stress) is an inescapable part of our journey to competence.
To scale the drill up this way is pretty simple: Starting in the holster, and at the beep, draw and fire five accurate shots as quickly as possible. A successful run is all hits in under the five second par time. In my previous article, I recommended striving for a sub-2-second draw to first hit, and the ability to shoot half-second splits (time between shots), all on an 8-inch circle at seven yards. This 5-inch circle is smaller, but since we are closer we’ll call it even. If you can apply those standards to this drill, then with a 2-second draw-to-first-hit, and half-second splits, you could shoot this drill in four seconds with time to spare. Once you’re able to shoot this drill from the holster in less than 5 seconds routinely, strive for the same 5x5x5 concept where you shoot it successfully five times consecutively.
Conclusion
The 5×5 Drill is a simple, scalable, and revealing measure of fundamental handgun competence. It integrates core skills like sight alignment, trigger control, and recoil management. Once shooters have developed the ability to draw quickly and shoot controlled, accurate follow-up shots, the 5×5 Drill offers the next step: Evaluating those skills together under modest time pressure. Scalable to nearly any public range, it’s both accessible and challenging. Progressing to shooting from concealment and completing the drill consistently builds real confidence rooted in proven performance. If you progress with this drill to the point you can successfully shoot it to standard from the holster every time, you’ve achieved a degree of competence that will likely solve the vast majority of real-world defensive shooting problems a private citizen is likely to encounter. If you can shoot the 5×5 Drill cold, from concealment, five times in a row, you’re not just armed, you’re prepared. Don’t guess whether you’re ready. Test it. Shoot the 5×5 Drill and find out where you stand.
Read the full article here






Leave a Reply