Learn How to Draw a Pistol — Easy Steps Needed to Save Your Life
In today’s article, veteran police trainer Mike Boyle offers suggestions on learning to draw a pistol in a safe and efficient manner for self-defense. This article is for informational purposes and is not intended to replace in-person instruction with a qualified instructor. We always encourage practicing in a distraction-free location with firearms that have been rendered safe.
The ability to quickly draw your handgun is an essential requisite of defensive pistolcraft. Danger often presents itself with little forewarning, and to prevail, a fast, decisive response is often necessary.
Unlike at the range, there will not be a “stand by” warning, a whistle, or an electronic tone to signal you that the action has commenced. Your mental focus has to be 100% dedicated to what is unfolding around you. In short, your response must be automatic, leaving your mind clear to make that critical decision as to whether a deadly force response is justified.
I am by no means suggesting that a lightning-fast draw will be required in every situation, but the pattern of attack on armed citizens is often very different than that of law enforcement officers. The police recognize that there is a heightened element of risk when conducting a motor vehicle stop or responding to a domestic situation.
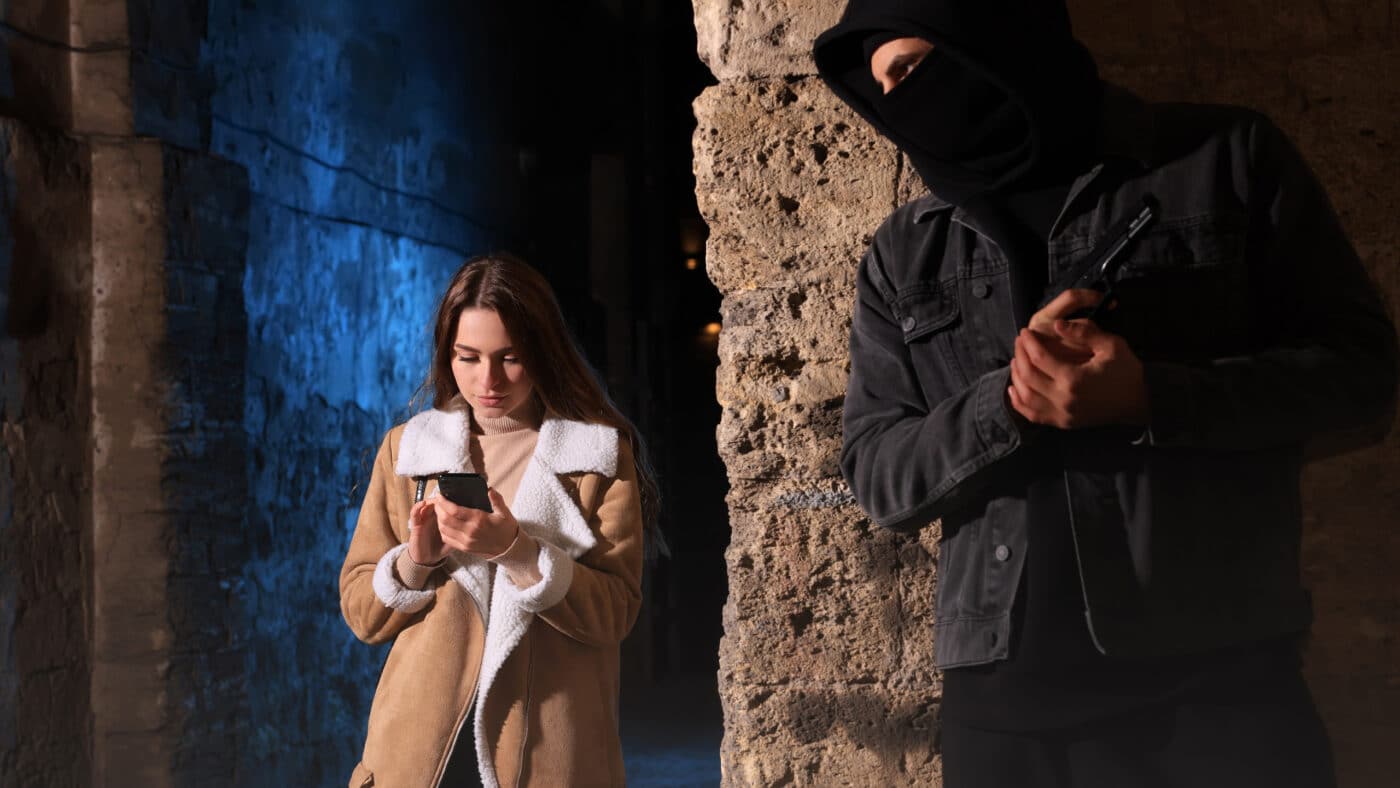
In an extensive study conducted by NYPD some years ago, police officers had forewarning the vast majority of the time that they were responding to a potentially dangerous situation. This gave them the opportunity to take the tactical high ground before committing themselves to the situation.
Unfortunately, that’s not the case with the responsible, armed citizen. Your radar may pick up on some unusual behavior that allows you to avoid the situation entirely. The reality of the matter is that in urban areas or the checkout counter at the convenience store, having people in very close proximity is a fact of life. A spontaneous attack in close quarters requires a fast response.
Before the Draw — Pick the Right Holster
A smooth, efficient draw stroke is far easier to accomplish when you select the right holster. When choosing a holster, you typically get exactly what you paid for. Buy cheap, buy twice! There are in fact many slick designs out there that can be had for less than a king’s ransom, but be especially wary of the cheap rigs that collapse as soon as you draw the gun.
There are many different types of holsters made for concealed carry, including shoulder, pocket and ankle rigs. However, those worn on the belt, either inside or outside the waistband, are best in my opinion.
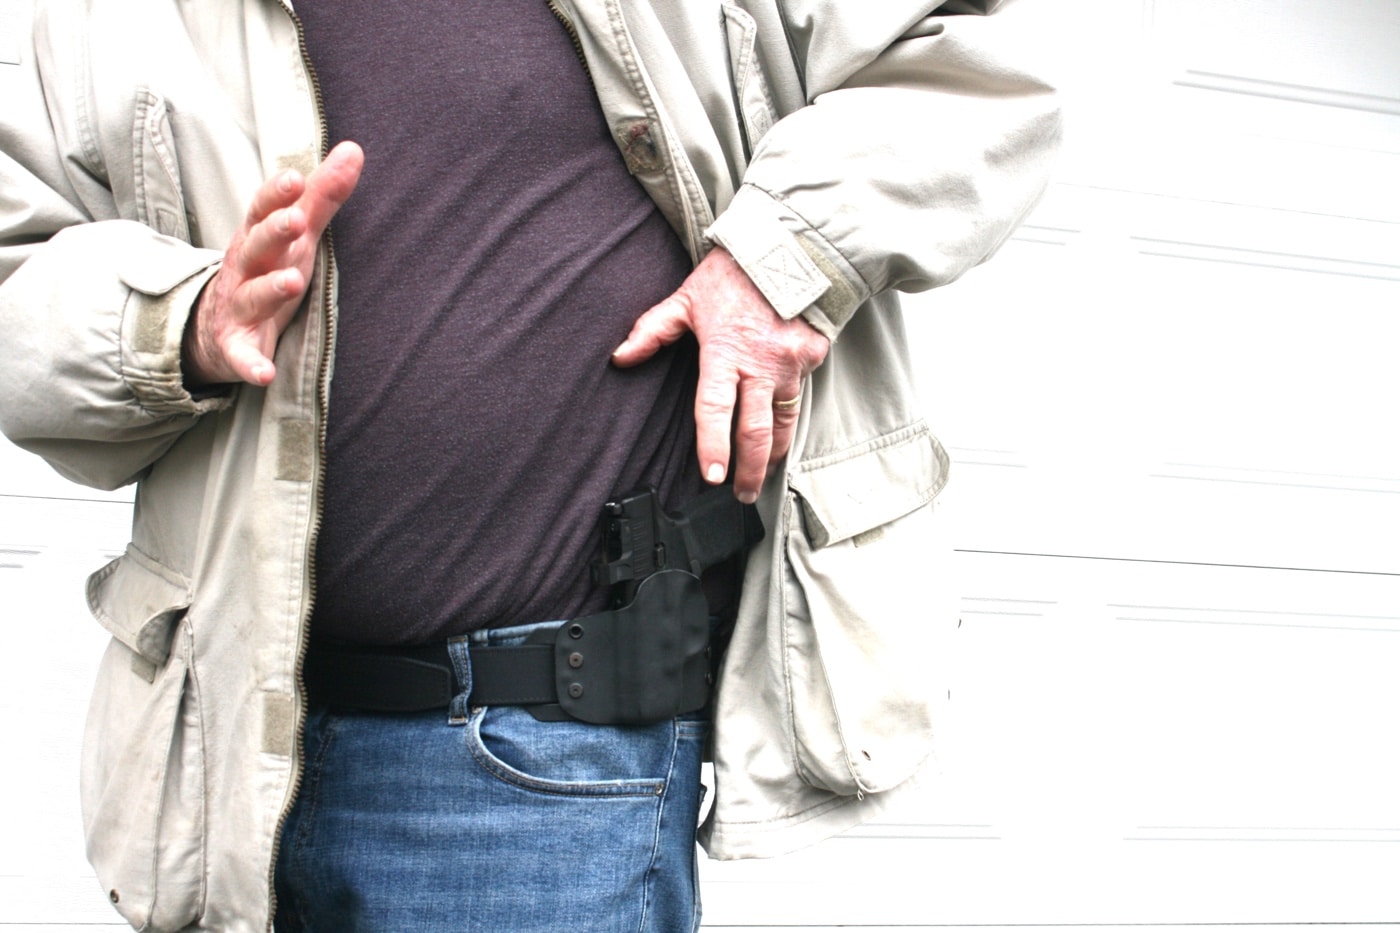
The other styles can in fact be a useful niche for individuals who are not able to carry a pistol on the belt. But recognize that they are slower to draw from, which can be problematic in extreme close quarters. If you must use such a holster, recognize you have to see the danger that much sooner.
Material and style are a personal choice, and I have every day rigs crafted of both leather and Kydex. One point that is non-negotiable is that your holster must allow you to get a firm and final shooting grip as soon as your hand meets the gun. It must also allow you to return the pistol to the holster with just one hand.
As far as the holster cant (or tilt), I have long marched to the beat of a different drummer and favor belt holsters that ride straight up and down or with the muzzle angled slightly forward. With my pistol worn on the belt in such a manner, my wrist is straight when I take a grip to lift it clear. A great many users favor an FBI rake with the grip angled forward and the muzzle to the rear. If that works for you, have at it.
Mechanics of How to Draw a Pistol
Just about every shooting school I have attended devoted a bit of time talking about the draw stroke. My own ideas have evolved over the years, and safely and efficiently drawing the pistol is the first topic I cover with new shooters once we get into the hands-on skills.
For years, I have broken the draw stroke down into four steps. Initial practice is by the numbers to ensure all the little details are done correctly. Once all is good, we put it together and increase the speed. Return to the holster after shooting is another area that needs to be addressed. Let’s look at the specific steps to draw your pistol.
Step One — Grip Handgun and Deactivate Retention Devices
The shooter begins with a slightly bladed body position, feet roughly shoulder width apart, and arms at the side.
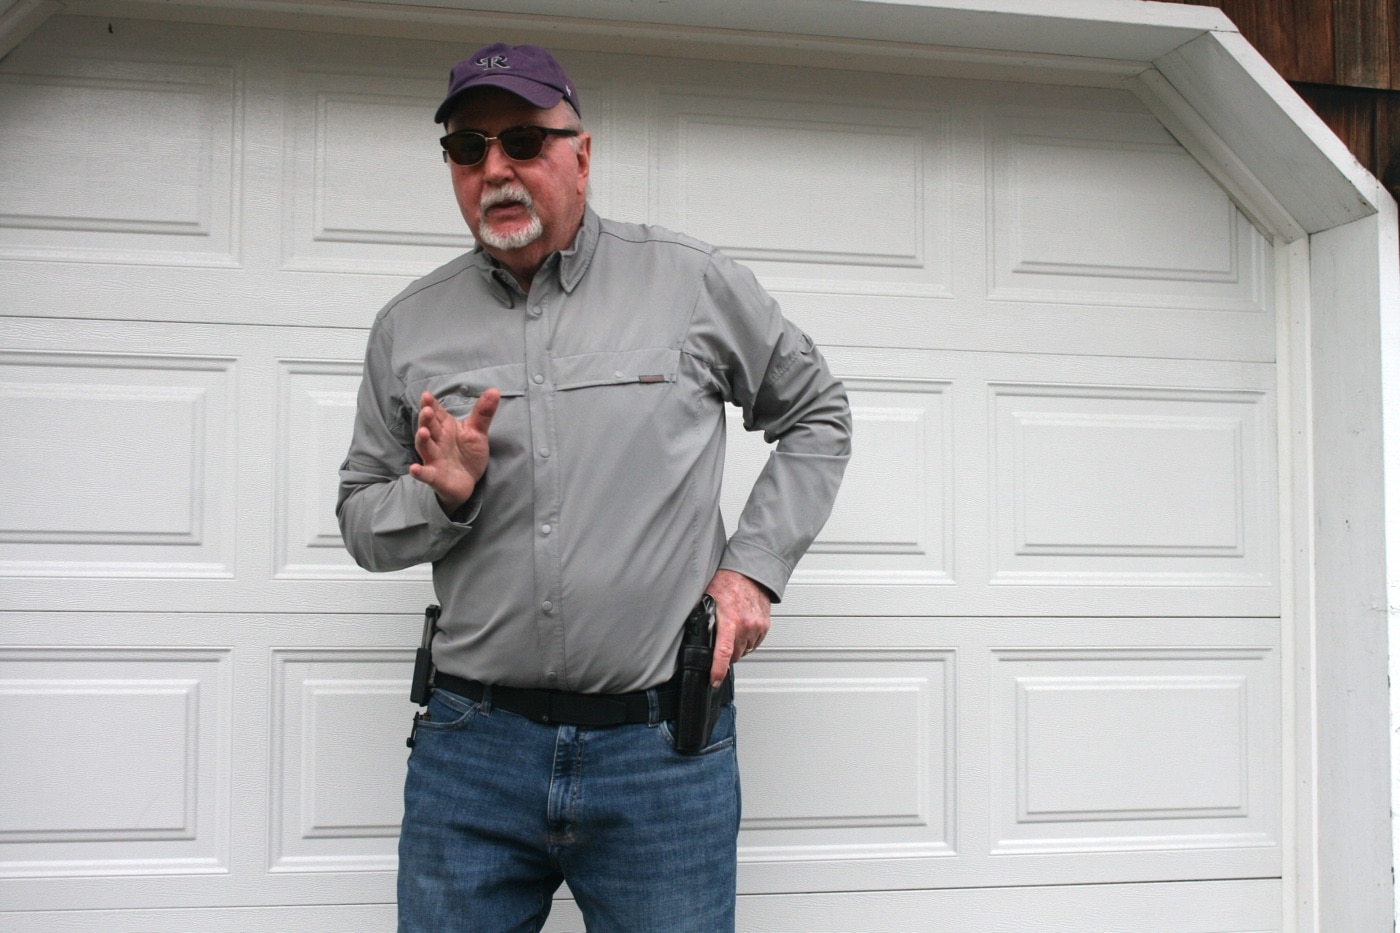
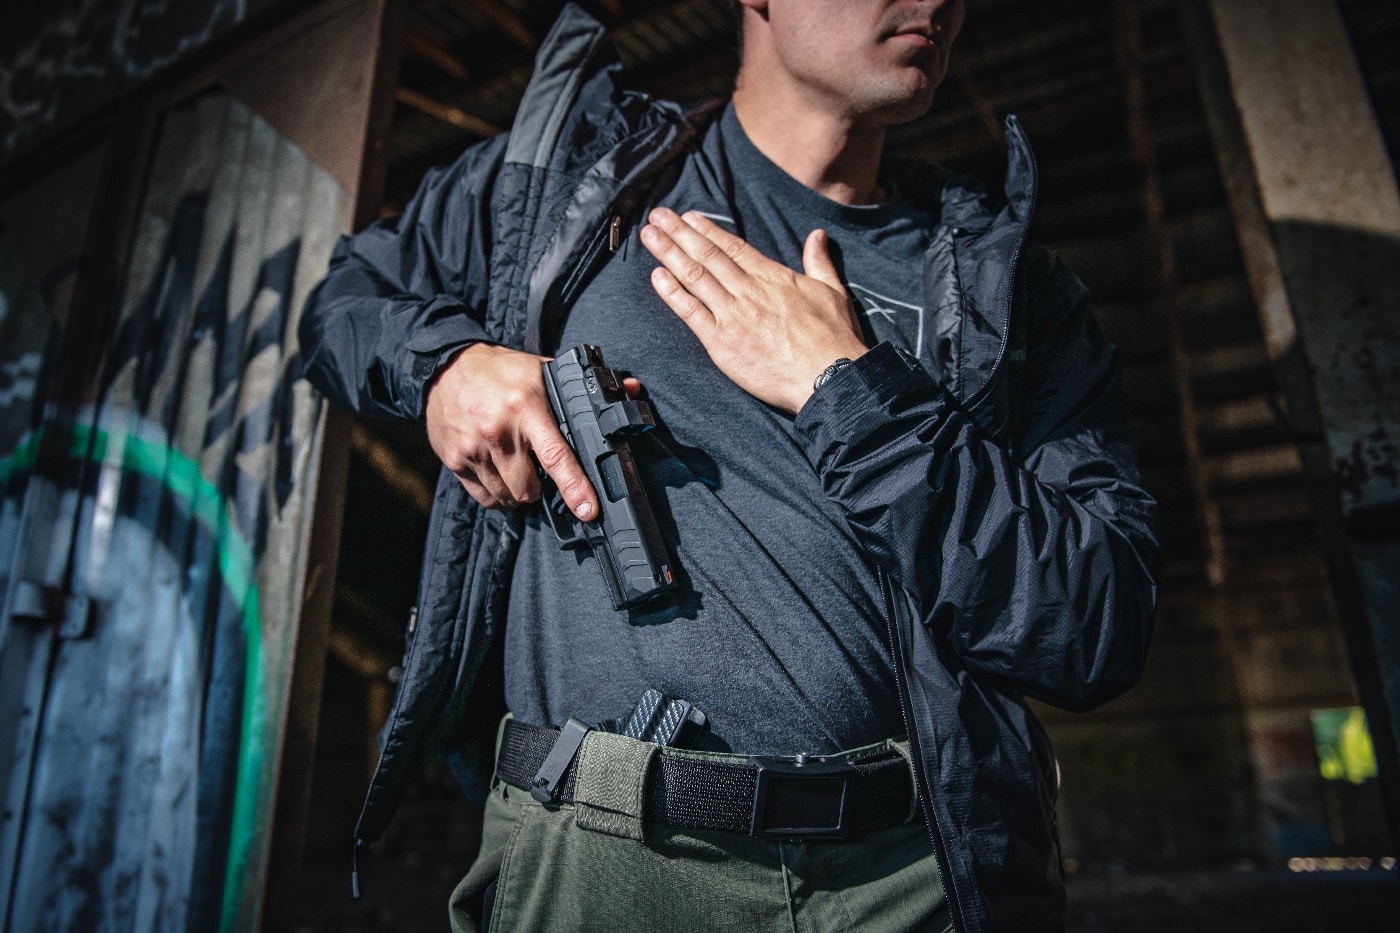
On the stimulus, both hands are in motion. The support hand begins moving to chest height at body midline while the strong hand takes a firm and final shooting grip on the pistol.
When drawing from concealment, the covering garment must be swept away before establishing a grip.
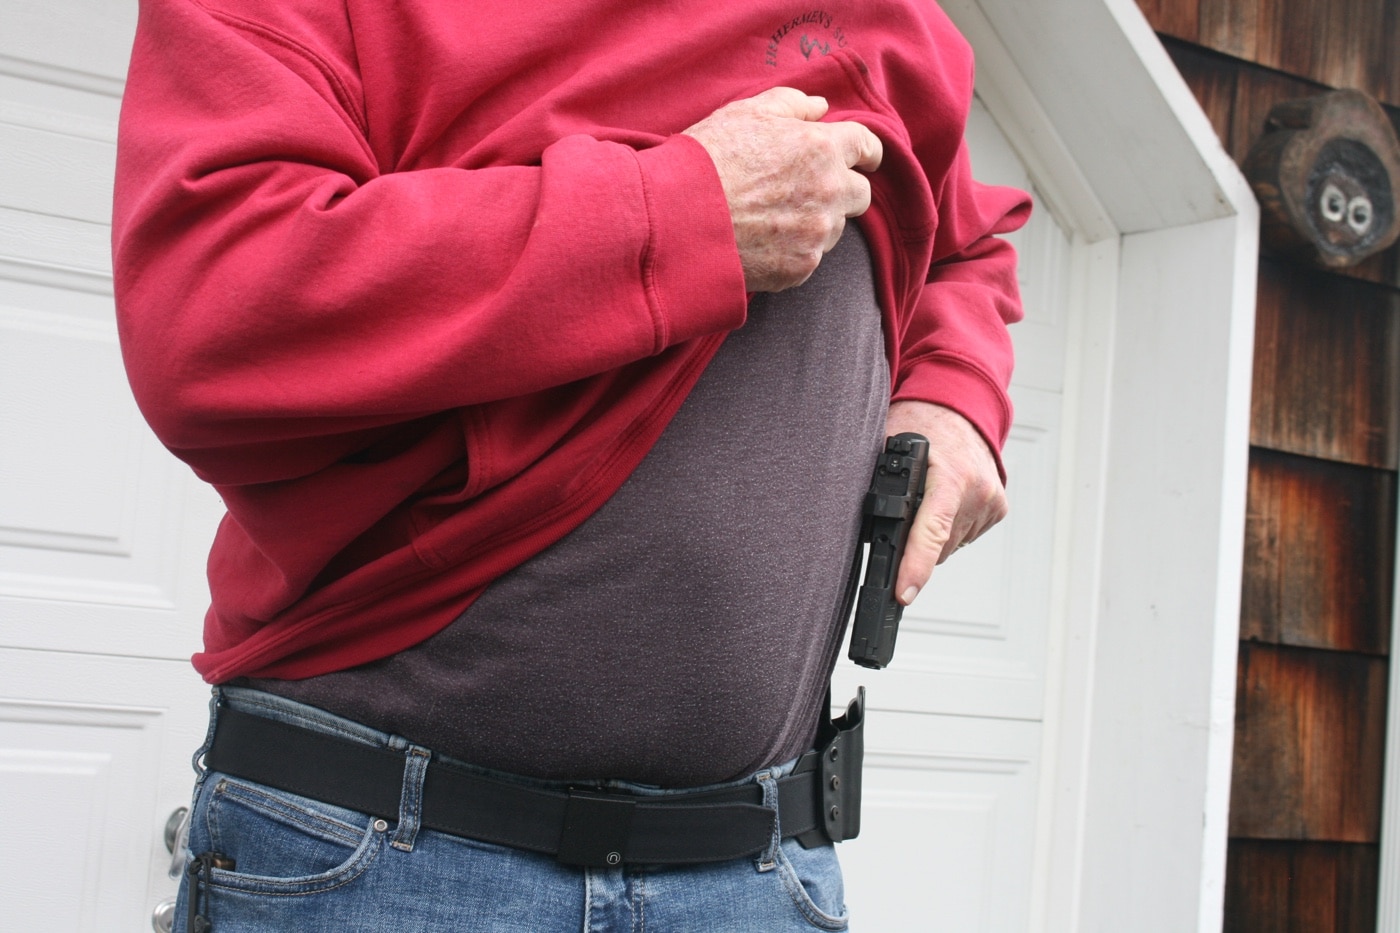
Any snaps or retention devices on the holster are released in one motion as the hand makes contact with the pistol.
Step Two — Straight Up to Clear Your Holster
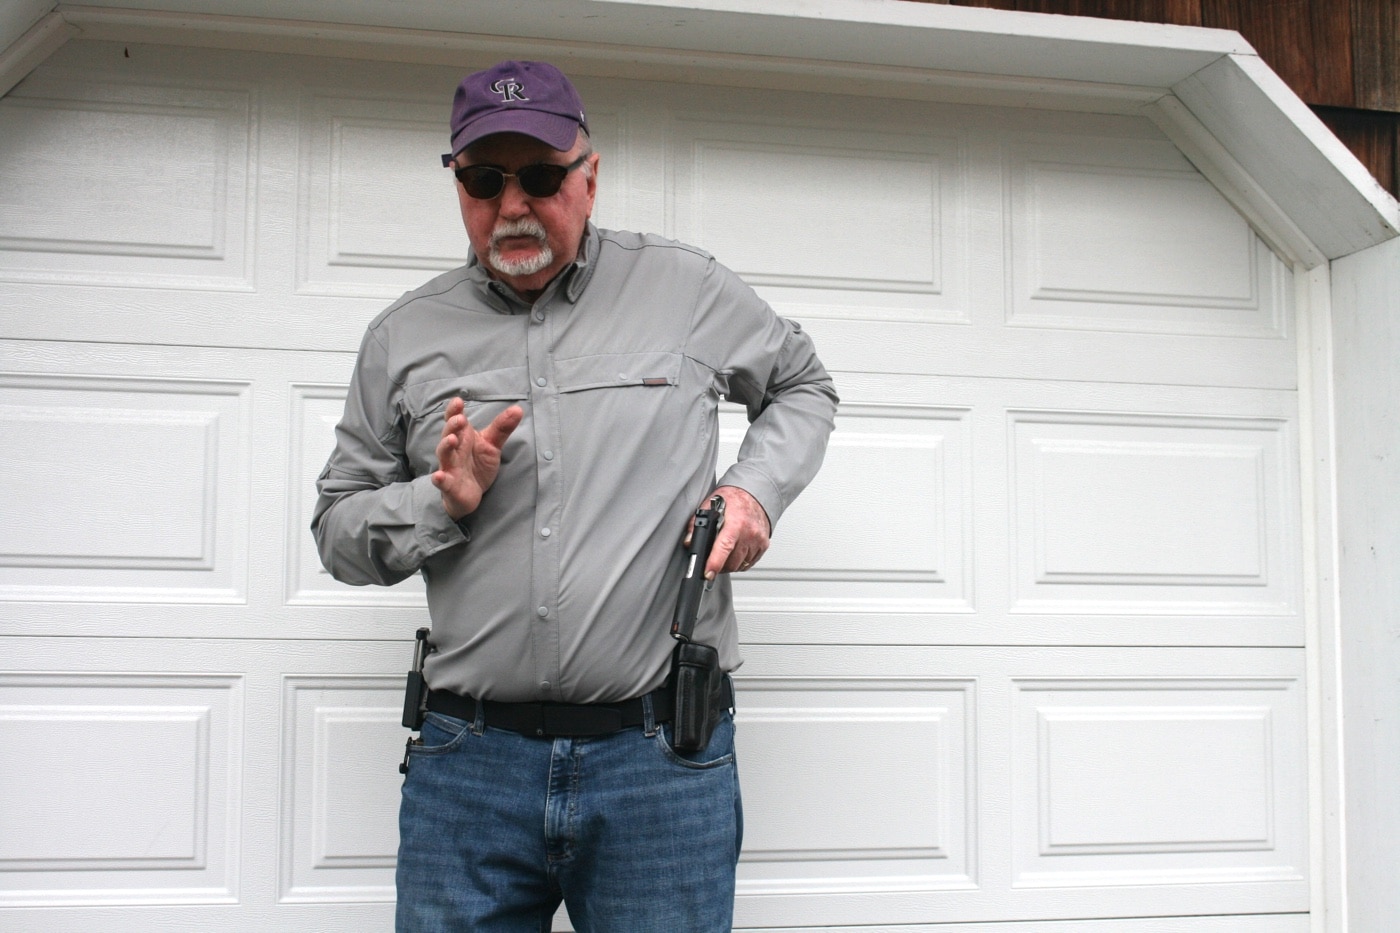
The strong hand lifts the pistol clear of the holster, but there is no forward movement. The wrist of the strong hand should now be straight and the support hand should have arrived at chest level.
Step Three — Hands Meet at the Chest
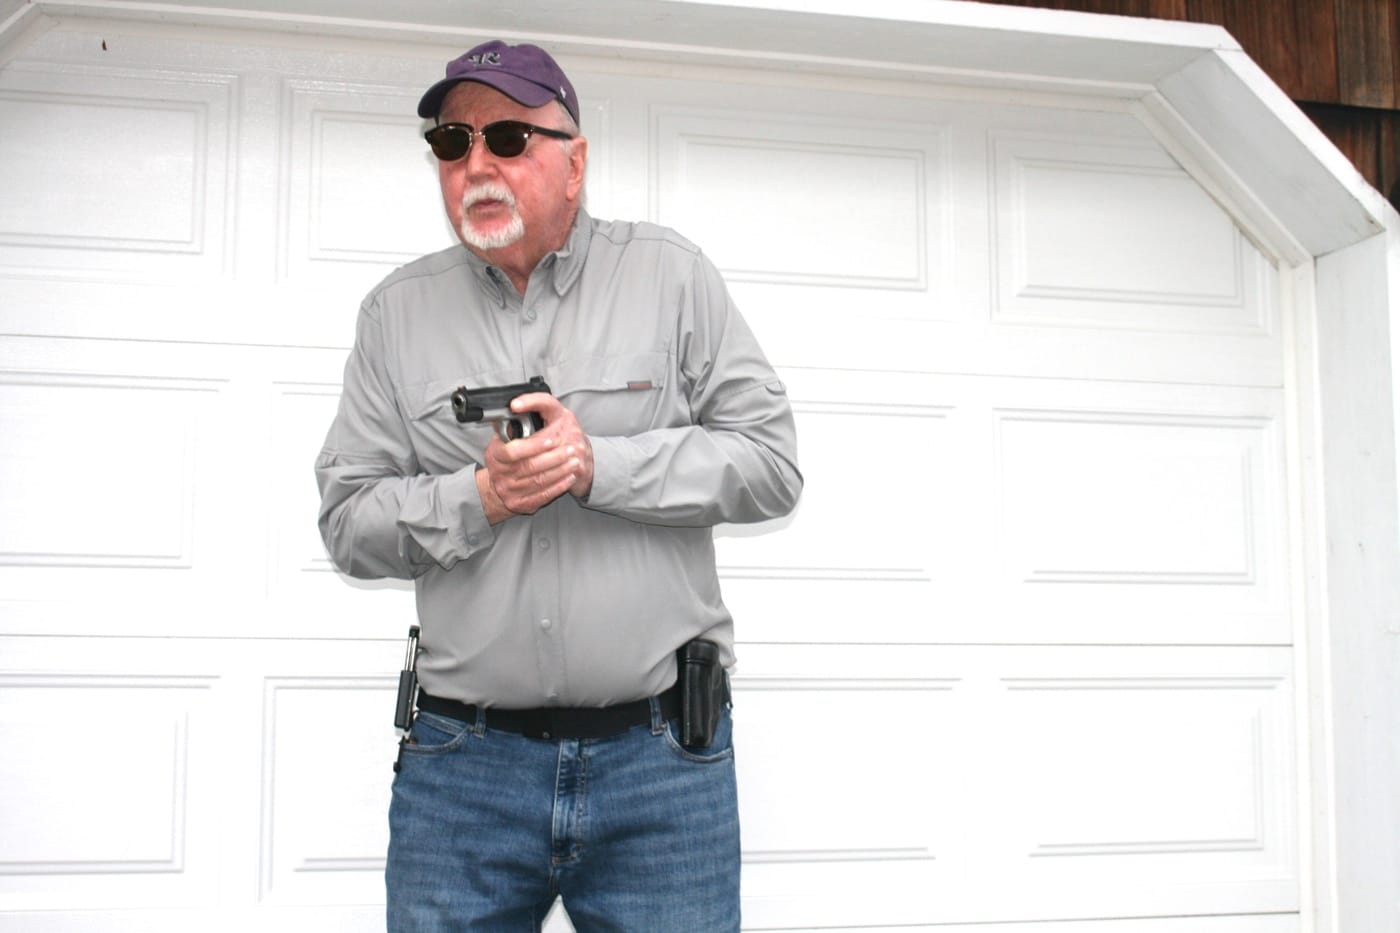
The strong-side elbow is brought to the rear as the gun is brought up to chest level, slightly offset to the shooter’s dominant eye. The support hand completes the shooting grip. The trigger finger enters the trigger guard, but no contact is made with the trigger.
Step Four — Drive Gun Out
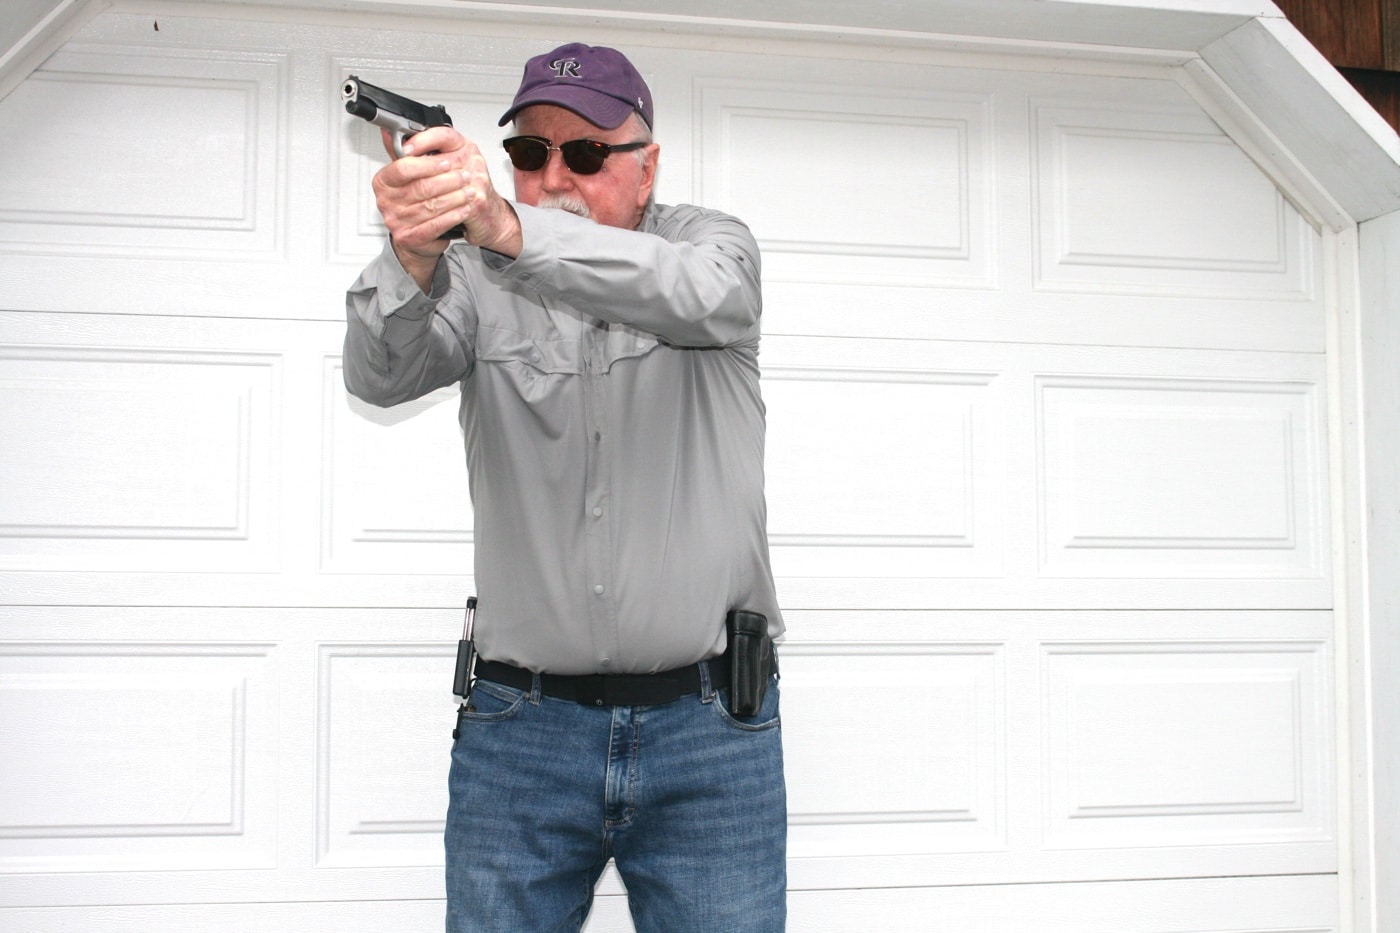
Extend the arms and drive the gun out toward the target. Obtain a reliable index on the target and apply rearward pressure on the trigger to make the hit.
Assumptions and Adjustments
The above formula assumes drawing from a belt holster and the ability to take a two-hand grip. Proximity to the threat, injury, and even the type of clothing worn may muddy up the waters.
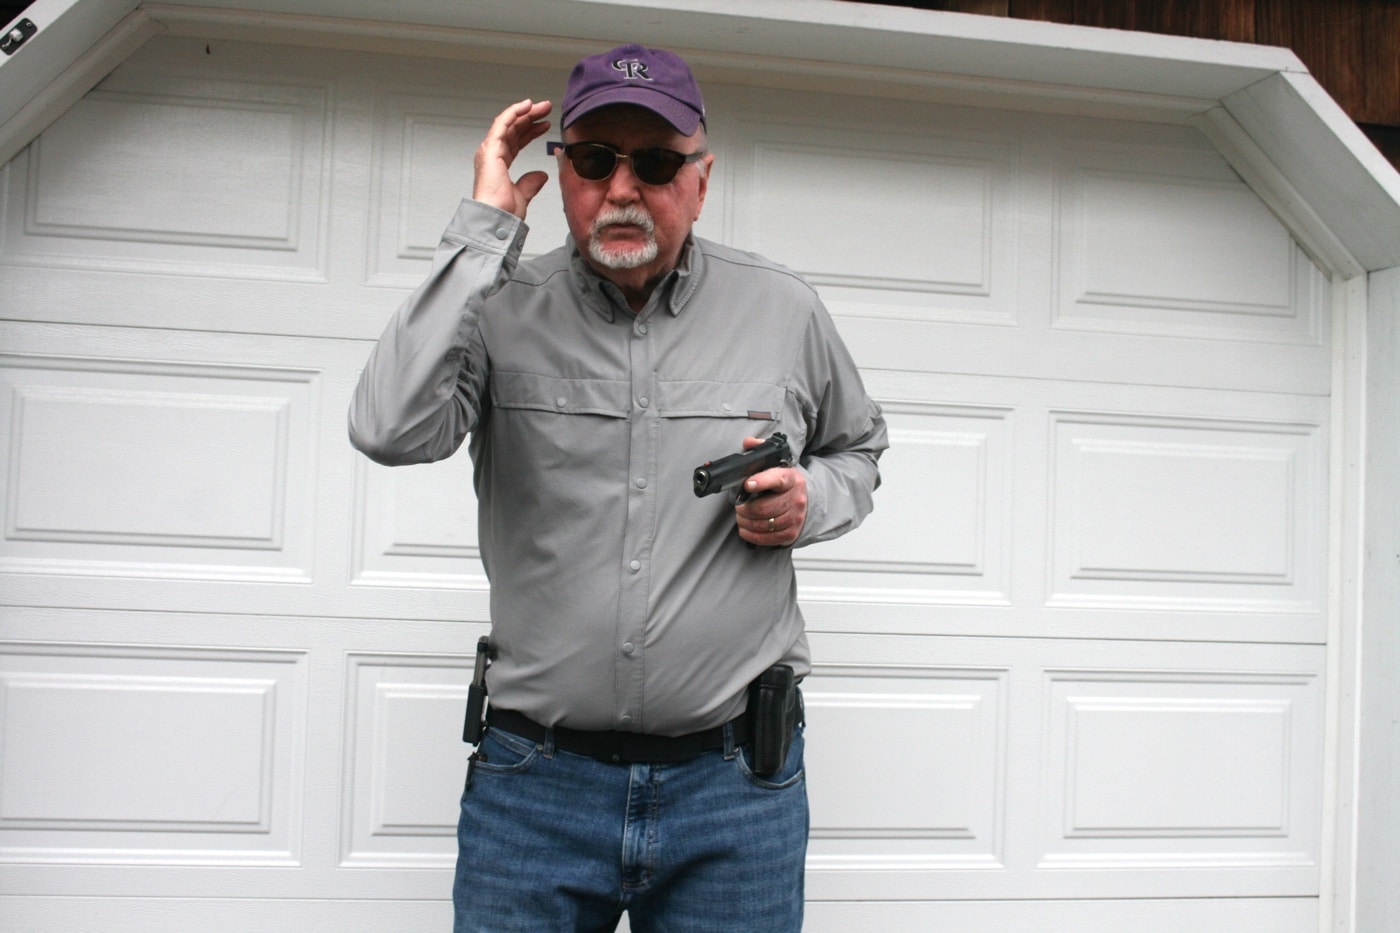
For example, extending the arms all the way out will not work when an aggressor is moving inside of your personal space. As an alternative, retract the strong side elbow all the way to the rear which brings the pistol to chest level. Instead of bringing the hands together, the support hand is used to strike, block or deflect the aggressor’s attack. Considering that a great many attacks unfold in extreme close quarters, this is something that should be practiced.
Recovery to the Holster
Should you have to draw that gun in the real world, it may be out of the holster for some time, regardless of if you fire or not. On the other hand, there may be some urgency in getting the gun back in the holster as you might have to use a lower level of force to control the situation. Clearly, on the range there is a need to return to the holster to await the next firing sequence.
I would submit a great many negligent discharges occur while returning the gun to the holster. I impress upon my students that there are no medals or trophies given to the individual who can return to the holster the quickest. Holster reluctantly!
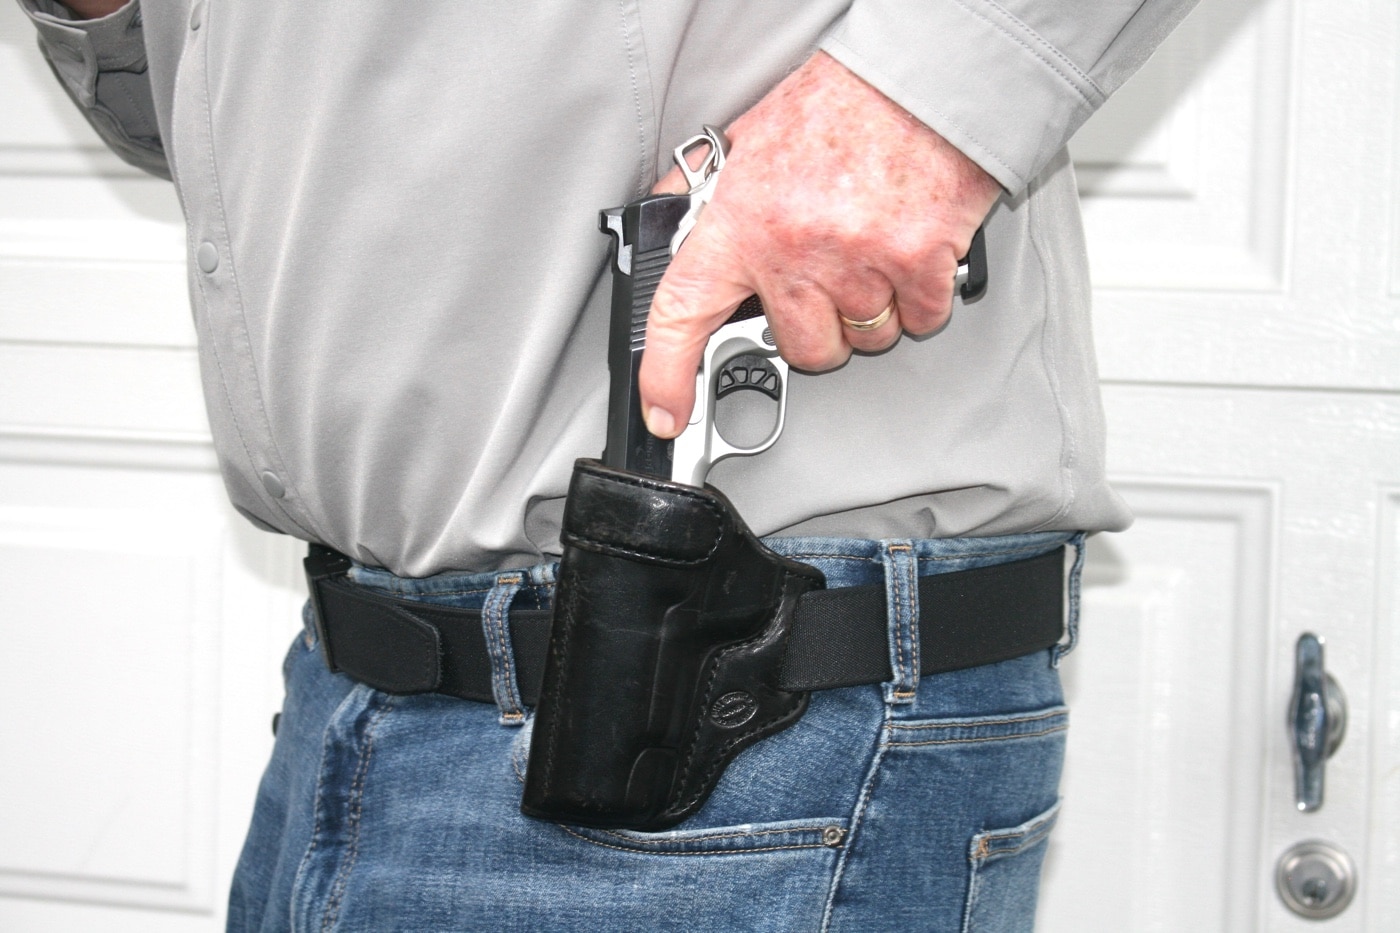
The number one culprit of these is the finger on the trigger as the gun is returned to the holster. Be absolutely sure your finger is off the trigger and outside the trigger guard when holstering.
My personal preference runs toward rigid rigs like leather or Kydex holsters as they allow me to return the pistol one hand only. If your holster collapses as soon as the gun is removed, retire it and get a different one.
Using the support hand to open the holster mouth or clear clothing is downright dangerous. Holsters with thumb breaks can be problematic with a one-hand return, and I find if I angle the gun in from the rear I can safely return it with little fuss.
When engaged in practice, get in the habit of scanning for other threats before returning to the holster. Breathe and oxygenate that brain! Be sure all is well before returning to the holster. In the unforgiving real world, if there is cover nearby move to it and only call for the cavalry when it is safe.
Final Thoughts
The legal parameters for police officers and armed citizens drawing a pistol in public are quite different. As a retired law enforcement officer, I recognize that my role is very different now and if my gun comes out of the holster there is an extremely high likelihood that someone is forcing me to shoot. The unnecessary brandishing of firearms should be avoided! Steering clear of foreseeable danger is always the best course.
I encourage you to safely practice your draw with the pistol, holster and with the type of clothing you wear on the street. The good news is this can be accomplished in the comfort of your own home, just be sure there is no live ammunition on you or in the immediate vicinity and that the gun is clear and empty. Check that pistol twice and make sure it is absolutely clear and if you are interrupted, check it again before continuing. Also, never point it at anyone during this process.
Remember, smooth is fast. Edit out all superfluous movement, and be efficient. In no time at all, you will be amazed how fast you can get your gun into action.
Editor’s Note: Please be sure to check out The Armory Life Forum, where you can comment about our daily articles, as well as just talk guns and gear. Click the “Go To Forum Thread” link below to jump in and discuss this article and much more!
Join the Discussion
Read the full article here


